Chocolate Banana Chia Pudding with Coconut Whip

20140716-153651-56211861.jpg

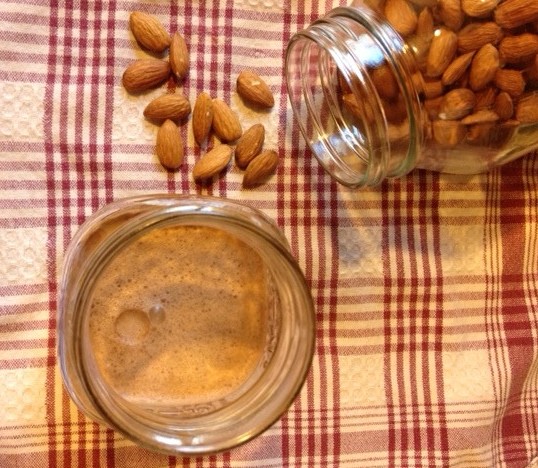
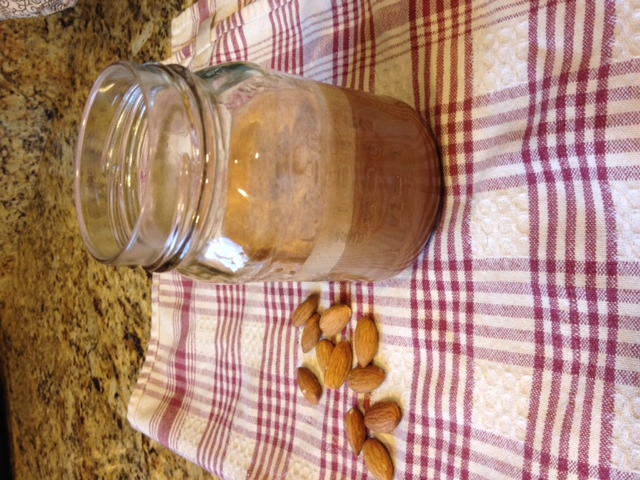
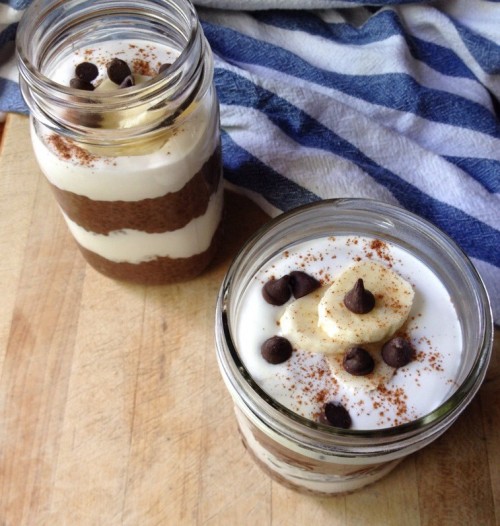
Everything looks yummy in a mason jar. 

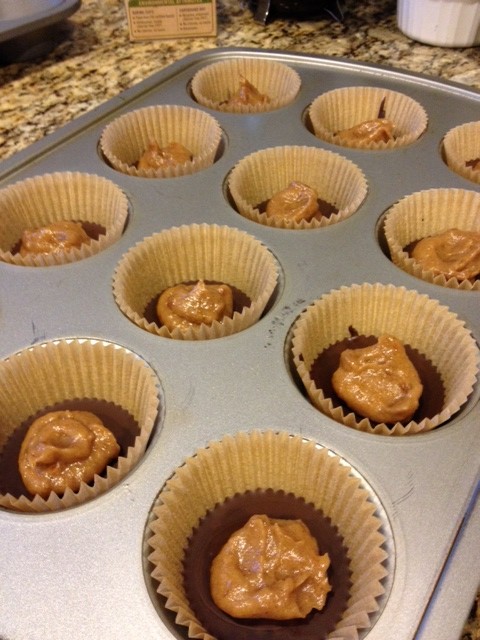
Forgive me for skipping out on my round up for June.  This summer has been going by altogether too fast.  More on that jazz later.  The biggest feature in our kitchen this summer has been the banana.  Because Oliver has developed a serious addiction to this mushy fruit, we have to keep a bunch on hand at all times.  This results in many of our dishes using bananas to keep from spoiling or overcrowding the freezer.

I’ve posted about the many benefits of chia seeds before, on this post, but until last week I had never made my own chia pudding.  I’ve seen recipes for it a dozen times, it always looked quick and easy, so why has this escaped me?  Not only is this recipe nutrient packed, but its sugar free, soy free, gluten free and pretty darn tasty.  The strange tapioca-like texture of the pudding pairs perfectly with the smooth coconut whip cream.  Both are sweetened just enough to not overwhelm your palate.

Chocolate Banana chia pudding with coconut whip

Ingredients

  • 2 cups unsweetened almond milk (or coconut)
  • 2 tablespoons chia seeds
  • 2 bananas
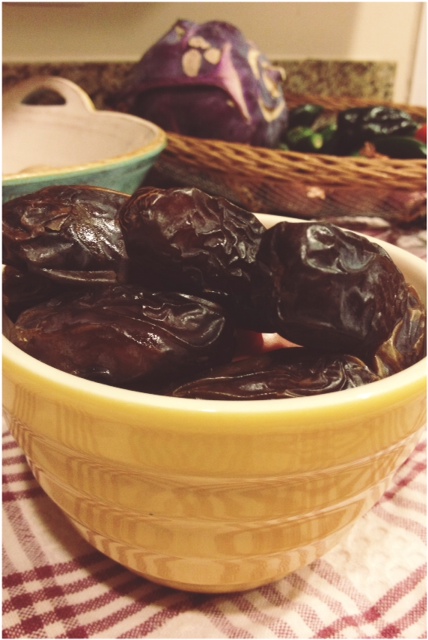
  • 3 medjool dates, pits removed
  • 3 tablespoons raw cacao powder
  • 2 teaspoons vanilla
  • Dash of sea salt

  • 1 can coconut milk (refrigerated overnight)
  • 1 tablespoon agave
  • 1 teaspoon vanilla bean extract
  • 1 tablespoon shredded coconut

  • Fresh banana slices, a sprinkle of cinnamon, and some chocolate chips for garnish (optional)

Instructions

  1. Place almond milk, chia seeds, bananas, dates, raw cacao, vanilla and salt in blender and blend till all ingredients are smooth.
  2. Place in covered container in refrigerator for at least 4 hours.
  3. Meanwhile make the coconut whipped cream. Open the can of coconut milk carefully. scoop out the top layer of cream, while reserving the leftover coconut water for another recipe (smoothie perhaps). Place in bowl and add agave, vanilla, and shredded coconut. Whisk by hand or with hand mixer till fluffy. (Do not over whisk, or you will have soupy whip)
  4. After becoming super impatient, find some serving glasses or jars.
  5. Stack as a trifle alternating the chia pudding/coconut whip as desired. You can also just dollop some of the whip as you like.
  6. Garnish with fresh banana slices, chocolate chips, and a sprinkle of cinnamon.
http://vegpod.com/chocolate-banana-chia-pudding-with-coconut-whip/


20140716-145255-53575908.jpg


Chia is also loaded with fiber, making this pudding also makes a great breakfast.  It is also so creamy that it satisfies any desire for dairy.  Im thinking ground up chia seeds may be the perfect binder for a raw banana cream pie.  Enjoy!


20140702-233953-85193480

 Oliver gettin down with his banana filled mesh feeder at the Riverwest Co op

Raw Nut Mylk


Zemanta Related Posts Thumbnail

As a mostly full time, stay at home mom, the perks of making all of my own food seems endless.  I don’t just mean making breakfast, lunch, and dinner.  I’m talking about making my own ingredients.

I suppose before the new family addition, it was difficult to see how I would find the time to manifest doing anything.  And of course some days it still is (like this blog for example!)  But as Oliver’s duration of sleep at night gets a little longer, and the naps are plentiful, I am happily enjoying the time I have to stray away from the ‘processed’ food we were eating.

I’d like to think that my diet is as healthy as it can be.  I eat an entirely plant based diet, mostly organic, full of whole grains and legumes.  But there were a couple things hanging over my head that I knew could be eliminated.  For example, why was I not making my own almond milk?  I had already dived into making my own yogurt, and vegan-naise, so why still buy the processed nut milks?  Once my lovely vitamix came into my life, I had no excuse.

So here goes:  My raw almond mylk recipe (plain, chocolate, and strawberry versions as well!)

Raw Nut Mylk

Ingredients

  • 1 cup raw almonds, or any other nut
  • 4 cups cold filtered water
  • 1 Tbl. agave (optional)
  • pinch celtic salt
  • 1/2 tea. vanilla
  • To make chocolate or strawberry mylk, you will need 2-3 Tbl. raw cacao, or 4 frozen strawberries)

Instructions

  1. Soak raw almonds in warm water with a pinch of salt for at least 6 hours.
  2. Drain water, then rinse.
  3. Place almonds and filtered water in blender. Turn on high for about 2 minutes.
  4. Using a nut milk bag, place bag over a large bowl or carafe. Pour in almond mylk.
  5. Gently twist the top of bag (so not to lose any!) and start to work out the liquid leaving behind the nut pulp.
  6. Return mylk back to the blender and add remaining ingredients (Add cacao or strawberries here.)
  7. Blend on low just to incorporate, unless you are adding in the frozen strawberies- then blend on high.
http://vegpod.com/raw-mylks/


Simple.  If you have a toddler hanging around, this is a terrific recipe to let them help.  Lailah, my 3 year old roommate, loves dancing and counting with me as we wait for the almonds to blend.  She also enjoys “milking” the almonds, and being the first to chug some  of the finished product, making sure we made it correctly.  So fun!

photo

You also don’t need to discard the pulp!  I keep it in a mason jar in the fridge and stir a couple spoonfuls into my steel cut oatmeal in the mornings.  Protein boost!

Long ago I gave up soy milk, and switched to only buying soy products that were free of GMO’s and organic.  But as of a week ago, I gave up soy.  As a tofu scramble loving vegan, it was a hard thing to do!  And I’ve started to realize how much soy plays the partner to corn.  Soy lecithin is such a sneaky ingredient! Next on my list will be attempts at a vegan butter.  I’m so thankful earth balance has a soy free butter.

photo 2

Caramel Sea Salt Chocolate Cups

afterlight

Blame it on fall, but I am loving the dates surrounding me lately.  I often think figs are my favorite fruit.  Figs have such a great texture, and are not too sweet.  I used to love eating them fresh off the trees in San Diego.  They are just so beautifully unique.

As far as dates go, they taste like nature’s caramel.  Creamy, rich in dietary fiber, potassium, and Manganese (Manganese is good for your bones, anemia, and premenstrual  symptoms) dates can be used in so many different ways.  Smoothies, salads, oatmeal, savory dishes, brownies, or just as is.  I’ve been using them to sweeten my 2 minute hemp mylk…recipe to come soon.

photo (2)

Dates!  And yes, that is a huge Kohlrabi in the background!

There are endless varieties of dates grown in the Middle East, but from California the two most common are the Medjool and Deglet.  My roommates just brought back a bag of plump Medjool dates from this great little place called Sun and Earth.  I have yet to venture there, but they sell an assortment of bulk organic herbs, spices, and other random organic grocer products.  The dates they brought back are out of this world!  Its like they reached their peak of plumpness as they entered our kitchen, and hadn’t dried out too much where you’d want to re-hydrate them.  They are just perfect.

With all this date hype, I wanted to share a recipe I used for Erik’s birthday.  My husband doesn’t like cake, he’s not big on pie, so I opted to try for Caramel sea salted chocolate cups…. no biggie  🙂

Caramel Sea Salt Chocolate Cups

Ingredients

  • For the caramel filling:

  • 2 cups pitted dates, soaked for at least 2 hours. Save date water...see below 🙂
  • 1/4 cup soaked date water
  • 1.5 tsp vanilla extract
  • 1/2 tsp sea salt

  • For the chocolate:

  • 3/4 cup vegan chocolate chips
  • 1 Tbl almond milk
  • 1 tsp virgin coconut oil

Instructions

    For the Chocolate:
  1. Melt chocolate chips in a small heavy bottomed sauce pan.
  2. Stir in coconut oil, and almond milk. You may want to use a small whisk to help make sure the coconut oil is well mixed in.
  3. Line about 15 mini cups with melted chocolate, bottom layer!
  4. Place in fridge.
  5. For the Caramel:
  6. Drain soaked dates, but save the date water!
  7. Place all ingredients in a food processor. Blend until smooth, thick, and creamy. Using a spatula, scrape down the sides as necessary, making sure all gets incorporated.
  8. Set aside.
  9. To assemble:
  10. After bottom layer of chocolate has firmed up in fridge, layer with a caramel dollop, then top off with more melted chocolate mixture. Garnish with cacao nibs, and some course salt flakes.
  11. Place back into fridge to solidify. They should be ready to eat in 15 minutes.
http://vegpod.com/caramel-sea-salt-chocolate-cups/

Some side notes:
I was a little concerned that the melted chocolate wouldn’t surround the ‘caramel’, so I added more than I should have.  Not that I’m complaining, I mean ANY amount of chocolate is fine by me.  But because of this, they did turn out a tad rich.

I also ended up with some of the date-caramel sauce leftover, which was great to eat with fresh apple slices!  Or a spoon.  That stuff is amazing, and definitely a danger to have just lying around the kitchen.

photo 2

The first layer of chocolate goes in… did I mention that should you happen to make a mess, this is the best finger licking recipe to have that happen?!

photo 3

The caramel layer.  

afterlight

Happy 30th Erik!  This is definitely a big boy dessert!  Who needs cake anyway?!

Rub my belly Chocolate Puddin’

CIMG3642

Yes, even Buddha would appreciate a healthy chocolate pudding every now and again.

As I’ve said before, chocolate is my favorite feel-good super food!
If you’ve read the key lime pie post, I mentioned being fascinated with my new hip grocery item, carbonated soy-whip cream! So this is what else I did with it.
Simple, yet elegant, Rich Chocolate Pudding. Made with only a few ingredients, this dessert can be made in a jiffy. Its also a bonus that most of the ingredients are a probable staple in most veggie pioneer kitchens!

This recipe is really about getting the basics, and using your own taste buds.

Start with 1 pound of silken tofu, drain and set on paper towel for 15 min.
Meanwhile, in a small saucepan, melt 1.75 cups of your favorite vegan chocolate chips with about a 1/4 cup of soymilk (I use grain sweetened sunspire chips!)
Crumble tofu, and place in food processor. Add melted chocolate, 1 Tab. of coconut oil, and 1/2 a scraped vanilla bean.
Blend till smooth. Test for sweetness, and richness. If you feel you need a little more sweetener, add in some blue agave syrup. For a boost, you could add a teaspoon of extract such as mint, almond, or orange.
This makes about 4-5 servings. Get funky and add some whip cream, chocolate chips, sprinkled cinnamon, shaved coconut, etc. Have fun!

Some more recent fun facts about Chocolate:

a06_hydrogen_full

I’ve recently read an article on chocolate fueling our cars….
Well sort of. But how???
Scientists extract hydrogen through gases in waste food. They then began converting formic acid to hydrogen like mad.
The discovery of a way to extract hydrogen from food waste could be a real breakthrough for both industry and the environment, because the process isn’t restricted to chocolate waste. It works equally well on many other types of food waste.
The ability to convert food waste into clean renewable energy instead of garbage has the potential to transform the food industry. Using this process, food factories could conceivably use their own waste products to power their manufacturing operations, or to fuel a fleet of hydrogen-powered vehicles.

Wouldn’t that be nice? I still have no sympathy for the Hummer drivers of the world, but this guy gets a star…….
The first H20 powered Hummer!

image-1