Turmeric Latte aka Golden Milk

img_0379-1024x1024

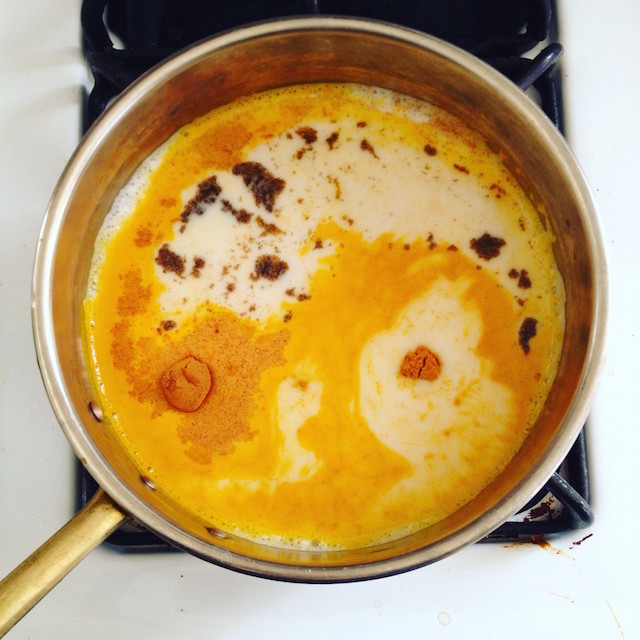
Psychedelic milk!

Turmeric root seems to be making a splash in the superfood world.  Most everyone is familiar with turmeric thanks to its use in the common spice blend, curry.  This bright yellow spice has tons of health benefits, such as anti-inflammatory properties which can reduce joint pain from osteoarthritis and Crohn’s Disease. It is also said to help reduce the risk of cancer- but really, most all superfoods these days live up to that challenge. Turmeric contains a naturally occurring chemical compound called curcumin.  Curcumin regulates messengers that cause inflammation in the body… wowza!  It also contains small amounts of iron, protein, and fiber.  Turmeric root can also be used to treat wounds, cuts, rashes, bruises, insect bites, and swelling

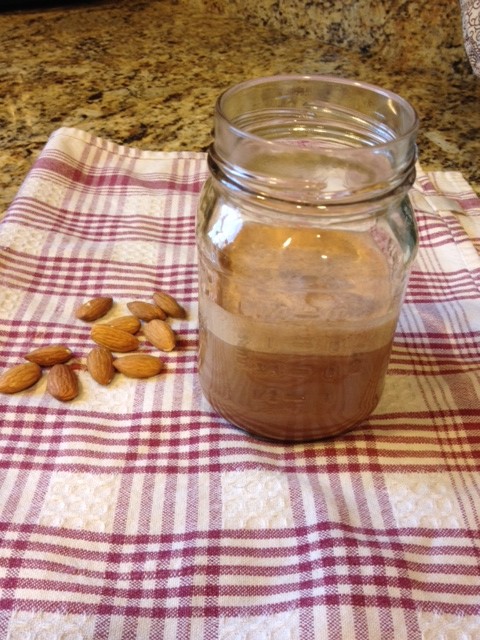
This Auryvedic recipe for Golden Milk traditionally incorporates black pepper to help absorption.   Drinking this before bed can aid relaxation and help to boost your immune system while sleeping.  For extra crunchy DIY points, use your own homemade almond milk!

Turmeric Latte aka Golden Milk

Ingredients

  • 1 cup almond milk
  • 1 Teaspoon maple syrup
  • 1/4 teaspoon ground turmeric
  • 1/4 teaspoon ground ginger
  • 1/8 teaspoon ground cinnamon
  • 1/8 teaspoon ground cardamom
  • 1/2 vanilla bean, seeds scraped (can substitute 1/2 teaspoon of extract)
  • pinch of freshly ground pepper
  • 1/2 teaspoon coconut oil

Instructions

  1. Over low heat, add all ingredients, except coconut oil, and whisk till combined.
  2. Bring to steaming, just below a simmer. Stir occasionally, for 10 minutes. DO NOT let it come to a boil!
  3. Remove from heat. Stir in coconut oil. Taste and add additional maple syrup if desired.
http://vegpod.com/turmeric-latte-aka-golden-milk/


img_0557

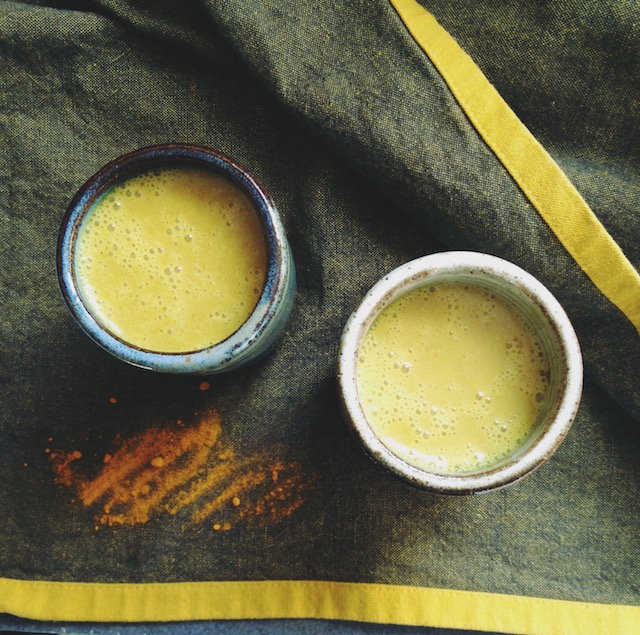
Shot out to my hubbies pottery skills.  I am loving these tumblers.

This recipe can be customized however you’d like!  Options are endless, but you get the idea.

Enjoy!

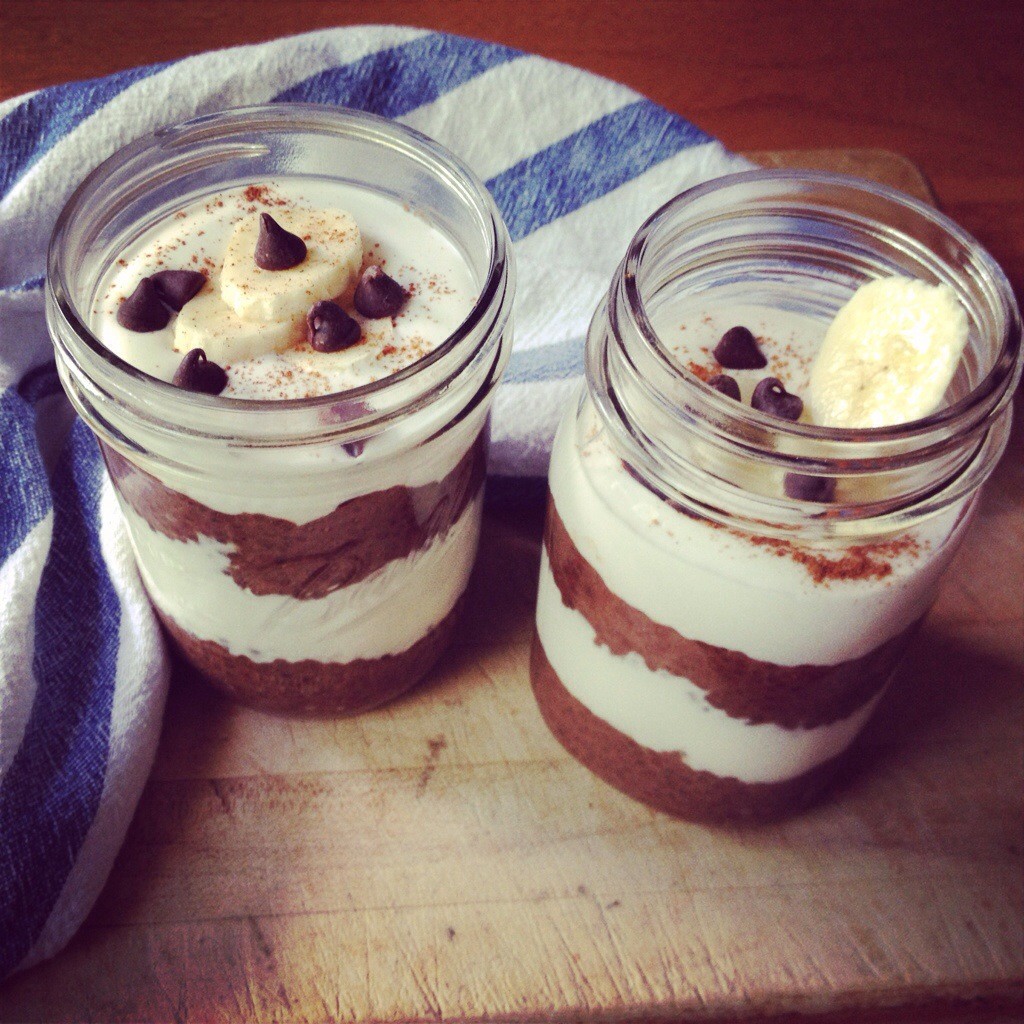
Chocolate Banana Chia Pudding with Coconut Whip

20140716-153651-56211861.jpg

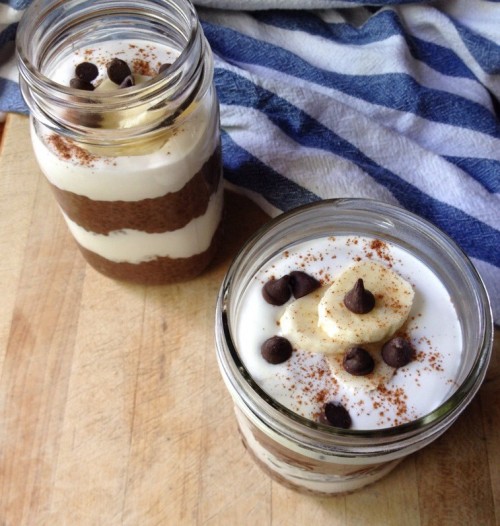
Everything looks yummy in a mason jar. 

Forgive me for skipping out on my round up for June.  This summer has been going by altogether too fast.  More on that jazz later.  The biggest feature in our kitchen this summer has been the banana.  Because Oliver has developed a serious addiction to this mushy fruit, we have to keep a bunch on hand at all times.  This results in many of our dishes using bananas to keep from spoiling or overcrowding the freezer.

I’ve posted about the many benefits of chia seeds before, on this post, but until last week I had never made my own chia pudding.  I’ve seen recipes for it a dozen times, it always looked quick and easy, so why has this escaped me?  Not only is this recipe nutrient packed, but its sugar free, soy free, gluten free and pretty darn tasty.  The strange tapioca-like texture of the pudding pairs perfectly with the smooth coconut whip cream.  Both are sweetened just enough to not overwhelm your palate.

Chocolate Banana chia pudding with coconut whip

Ingredients

  • 2 cups unsweetened almond milk (or coconut)
  • 2 tablespoons chia seeds
  • 2 bananas
  • 3 medjool dates, pits removed
  • 3 tablespoons raw cacao powder
  • 2 teaspoons vanilla
  • Dash of sea salt

  • 1 can coconut milk (refrigerated overnight)
  • 1 tablespoon agave
  • 1 teaspoon vanilla bean extract
  • 1 tablespoon shredded coconut

  • Fresh banana slices, a sprinkle of cinnamon, and some chocolate chips for garnish (optional)

Instructions

  1. Place almond milk, chia seeds, bananas, dates, raw cacao, vanilla and salt in blender and blend till all ingredients are smooth.
  2. Place in covered container in refrigerator for at least 4 hours.
  3. Meanwhile make the coconut whipped cream. Open the can of coconut milk carefully. scoop out the top layer of cream, while reserving the leftover coconut water for another recipe (smoothie perhaps). Place in bowl and add agave, vanilla, and shredded coconut. Whisk by hand or with hand mixer till fluffy. (Do not over whisk, or you will have soupy whip)
  4. After becoming super impatient, find some serving glasses or jars.
  5. Stack as a trifle alternating the chia pudding/coconut whip as desired. You can also just dollop some of the whip as you like.
  6. Garnish with fresh banana slices, chocolate chips, and a sprinkle of cinnamon.
http://vegpod.com/chocolate-banana-chia-pudding-with-coconut-whip/


20140716-145255-53575908.jpg


Chia is also loaded with fiber, making this pudding also makes a great breakfast.  It is also so creamy that it satisfies any desire for dairy.  Im thinking ground up chia seeds may be the perfect binder for a raw banana cream pie.  Enjoy!


20140702-233953-85193480

 Oliver gettin down with his banana filled mesh feeder at the Riverwest Co op

Dal Makhani

dal.jpg

This post will be short, as I am feeling more ‘hands-on’ with my free time, and less like typing on a computer.  Maybe it’s the weather.  Can you blame me?

I knew if I didn’t post this recipe soon, that it would get lost in my draft folder….. it’s not pretty in there.

Dal Makhani has always been one of my favorite Indian dishes.  Loaded with lentils & kidney beans this slightly creamy, and the perfect amount of spice, Dal Makhani was always my ‘go to’ after giving up Paneer years back.

With the little one around, I have been growing fonder of the crock pot.  Filling an array of ingredients into this magical slow cooker, forgetting about it for the day, and then when you arrive back, your home smells as if you been slaving away in the kitchen for hours…. maybe it really is magic!

Dal Makhani

Ingredients

  • 1 cup green lentils
  • 1/2 cup kidney beans
  • 1 medium red onion, minced
  • 2 tsp serrano chillies, sliced thinly
  • 1 tsp ginger, grated
  • 2 cloves garlic, minced
  • 2 tsp cumin seeds
  • 1 tsp dried fenugreek leaves
  • 1 tsp ground coriander
  • 1/2 tsp turmeric powder
  • 1 tsp cardamom pods
  • 3 cloves
  • 2" cinnamon stick
  • 2 bay leaves
  • 3 Tbsp earth balance vegan butter
  • 1 cup tomato puree
  • 1 cup coconut milk
  • Salt to taste
  • cilantro to garnish

Instructions

  1. There is no need to soak the beans overnight when using a slow cooker. If you are in a bit of a hurry and feel you can't allow the full 6 hours, then by all means, soak away!
  2. Place both the lentils, and kidney beans in crock pot and cover with 4 cups water.
  3. Prep the onion, chili, ginger and garlic and add to beans.
  4. The cumin, fenugreek, coriander, and turmeric can then be stirred in with a spoon.
  5. Assemble cardamom, cloves, cinnamon, and bay leaf in cheesecloth and tie off. Add to beans.
  6. Set slow cooker at 6 hours.
  7. Once beans have cooked through, gently stir in butter, tomato paste, and coconut milk.
  8. Salt to taste, and add more water if desired.
  9. To achieve a fuller flavor, allow the Dal to stew for at least another 1-2 hours (the longer the better!)
  10. Garnish with freshly chopped cilantro.
http://vegpod.com/dal-makhani/


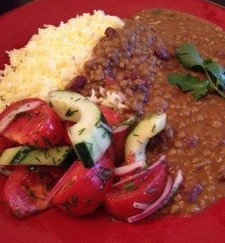
Any sort of basmati rice would be the perfect accompaniment to this dish.  I made a turmeric seasoned rice, with a hint of saffron and some green peas.  The cucumber salad was a nice crunch to the meal.

Enjoy and let me know how it turns out!

Raw Nut Mylk


Zemanta Related Posts Thumbnail

As a mostly full time, stay at home mom, the perks of making all of my own food seems endless.  I don’t just mean making breakfast, lunch, and dinner.  I’m talking about making my own ingredients.

I suppose before the new family addition, it was difficult to see how I would find the time to manifest doing anything.  And of course some days it still is (like this blog for example!)  But as Oliver’s duration of sleep at night gets a little longer, and the naps are plentiful, I am happily enjoying the time I have to stray away from the ‘processed’ food we were eating.

I’d like to think that my diet is as healthy as it can be.  I eat an entirely plant based diet, mostly organic, full of whole grains and legumes.  But there were a couple things hanging over my head that I knew could be eliminated.  For example, why was I not making my own almond milk?  I had already dived into making my own yogurt, and vegan-naise, so why still buy the processed nut milks?  Once my lovely vitamix came into my life, I had no excuse.

So here goes:  My raw almond mylk recipe (plain, chocolate, and strawberry versions as well!)

Raw Nut Mylk

Ingredients

  • 1 cup raw almonds, or any other nut
  • 4 cups cold filtered water
  • 1 Tbl. agave (optional)
  • pinch celtic salt
  • 1/2 tea. vanilla
  • To make chocolate or strawberry mylk, you will need 2-3 Tbl. raw cacao, or 4 frozen strawberries)

Instructions

  1. Soak raw almonds in warm water with a pinch of salt for at least 6 hours.
  2. Drain water, then rinse.
  3. Place almonds and filtered water in blender. Turn on high for about 2 minutes.
  4. Using a nut milk bag, place bag over a large bowl or carafe. Pour in almond mylk.
  5. Gently twist the top of bag (so not to lose any!) and start to work out the liquid leaving behind the nut pulp.
  6. Return mylk back to the blender and add remaining ingredients (Add cacao or strawberries here.)
  7. Blend on low just to incorporate, unless you are adding in the frozen strawberies- then blend on high.
http://vegpod.com/raw-mylks/


Simple.  If you have a toddler hanging around, this is a terrific recipe to let them help.  Lailah, my 3 year old roommate, loves dancing and counting with me as we wait for the almonds to blend.  She also enjoys “milking” the almonds, and being the first to chug some  of the finished product, making sure we made it correctly.  So fun!

photo

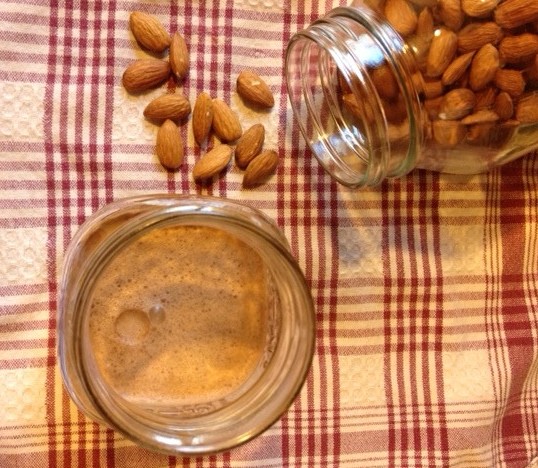
You also don’t need to discard the pulp!  I keep it in a mason jar in the fridge and stir a couple spoonfuls into my steel cut oatmeal in the mornings.  Protein boost!

Long ago I gave up soy milk, and switched to only buying soy products that were free of GMO’s and organic.  But as of a week ago, I gave up soy.  As a tofu scramble loving vegan, it was a hard thing to do!  And I’ve started to realize how much soy plays the partner to corn.  Soy lecithin is such a sneaky ingredient! Next on my list will be attempts at a vegan butter.  I’m so thankful earth balance has a soy free butter.

photo 2

Escabeche (pickled jalepenos)

photo (13)I am hoping that this next recipe will make its way into your hearts and homes as a pantry staple.  It has reserved shelf space in ours.  It has been so nice to save our veggies throughout the winter by canning.  Wisconsin winters tend to be long, and there really is nothing quite like a summer tomato sauce in the brisk cold of February.  But for now we are not going to dive into pressure canning.  We are going to take a slight short cut and talk pickling!

This recipe is something Erik and I have made the last two summers, and it never fails to bring out the spice fanatic in our guests!  A slight warning: This is for those that can handle the spice.  And I mean really handle!  Lets talk Escabeche.

Escabeche simply means “pickled jalapenos.”   Once the peppers are ripe for the pickling, we like to take it one step further and add other fresh garden veggies that we can harvest around the same time such as yellow onions, cauliflower & carrots.  I’ve seen this prepared with julienned potatoes and even jicama before, but I haven’t ventured there….yet.

Escabeche (pickled jalepenos)

Ingredients

  • 1 lb jalapeño peppers
  • 1/3 cup olive oil
  • 2-3 medium white or yellow onions, thickly sliced
  • 2-3 medium carrots, peeled and thickly sliced
  • Florets from half a small cauliflower
  • 1 head garlic cloves, peeled
  • 2 cups apple cider vinegar
  • 2 cups distilled white vinegar
  • 2 Tbsp Kosher salt or sea salt
  • 2 bay leaves
  • 1/2 teaspoon dried oregano
  • 4 sprigs of fresh marjoram or 1/4 teaspoon dried
  • 4 sprigs of fresh thyme or 1/4 teaspoon dried
  • 1 Tbsp sugar

Instructions

  1. Wash the chilies, leaving the stems intact. Cut a cross in the tip end of each chile, and slice some in half. I like the looks of the open chili.
  2. Heat oil in a large, deep skillet. Add the chiles, onions, carrots, cauliflower if using, and garlic. Cook over medium heat for about 10 minutes, stirring to prevent burning.
  3. Add the vinegar, salt, herbs, and sugar and bring to a boil. Lower the heat and simmer for about 10.
  4. Pack into sterilized jars with the chiles and vegetables. I also like to make sure I have a sprig or bay leaf in every jar for decoration purpose. Top with the vinegar and seal.
  5. I like to let the jars sit on my pantry shelf for at least a month or two... I know what you're thinking. Ugh- the wait! But the best things are worth waiting for! Once you open the jar, it can keep for up to two months in the refrigerator.
  6. *On a side note, you may want to hot water bath the jars to give them a proper seal. I have never done this with some pickle recipes, but don't listen to me! Be safe, and do what feels right!
http://vegpod.com/escabeche-pickled-jalepenos/


afterlight

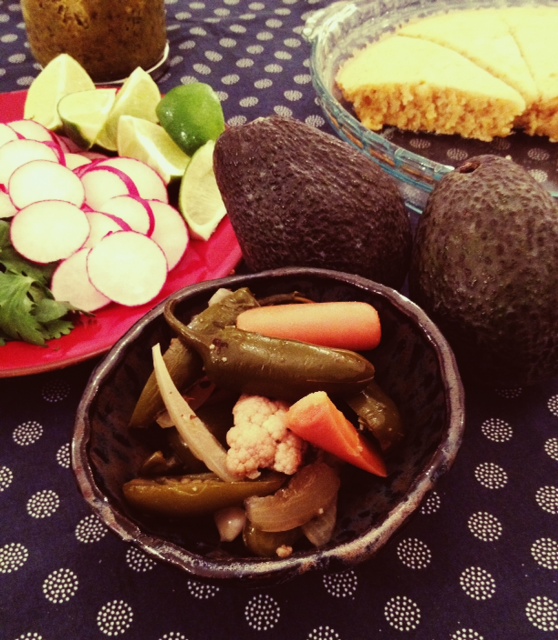
Escabeche, served as a side

Escabeche can be served along side any dish, best with Latin-influenced food.  Last night I made an amazing Autumnal Pozole.  I like to describe pozole as the Latin version of Pho. It is usually made with hominy, which was a sacred plant for the Aztecs.  The texture of maize, or hominy, is soft and chewy, and so wonderful in soups and stews.

afterlight (1)

Autumn Red Pozole

This pozole had butternut squash, black beans, tomatoes, and onion.  The real getter is how all the fresh veggies come into play.  Again, much like Pho, you can assemble it any way you’d like.  We ladled the stew over a warm piece of savory cornbread, then chose to top it off with fresh cabbage, cilantro, radish, lime juice, homemade tortillas strips, and a dollop of jalepeno relish Erik made.  It turned out amazing.

Birdie Granola aka ‘Nola’

photo (23) Its been almost 2 months ago since we left Wisconsin.  And as much as I do miss it, I am whole heartedly enjoying Annapolis, Maryland.  What a great city.  A charming brick laid downtown, overly dog friendly, bike friendly, and I love living in a city that thrives off of the water.  And have I mentioned yet how nice it is to be able to smell the salt water!  Its lovely. Back in Sheboygan, we were making a plethora of granola bi-weekly.  Vegpod sold two flavors at the farmers market, and two flavors to Goodside Grocery for resale.  It always had a tendency to sell like crazy, and we never ran out at the house.  Win-win.  Annapolis is proving to be similar.  Though we are not wholesaling anywhere, and though we don’t run a booth here, we do live with the cutest two-and-three-quarter-year old, who loves to eat granola, or ‘nola’ as she calls it.  Lailah like to eat her nola just as is with a spoon, or out of her hand.  How kid friendly is that? photo (22) The other great things about this granola is that its super easy to make.  And homemade always tastes better anyway, so why out source?  Thats no reason to stop buying Vegpod’s granola, but I encourage everyone to try it out!  I promise you will feel amazing and your kitchen will smell fabulous for hours!  Did I mention its gluten free as well?

Birdie Granola

Ingredients

  • 3 cups old-fashioned oats
  • 3/4 cup quinoa flour (scoop and shake to level)
  • 3/4 cup sunflower seeds
  • 1 cup chopped pecans, walnuts, or any kind of nut
  • 2/3 cup sesame seeds
  • 1 tea. pinch sea salt
  • 2 tea. cinnamon
  • 1 tea. nutmeg
  • 1/4 cup safflower oil
  • 2/3 cup maple syrup (the good stuff) or agave nectar
  • 1.5 tea. vanilla extract
  • 1/2 cup raisins, cranberries or any other chopped dried fruit

Instructions

  1. Preheat oven to 300 degrees. Mix first set of ingredients together in large bowl.
  2. Then mix second set of ingredients in separate bowl.
  3. Pour wet into dry ingredients, combine until well coated. spread evenly on the baking sheet.
  4. Bake for 10 minutes, stir. bake for another 10 minutes, keeping a close eye on the stuff, both agave & maple syrup can brown quick!
  5. Remove from oven, stirring again.
  6. Once its cool, stir in the dried fruit.
http://vegpod.com/birdie-granola-aka-nola/

There you have it!  I told you it was easy.  You don’t have to be precise with any of the nuts or fruits, really anything to your liking will work.  Sometimes I like to stir in toasted coconut, then sometimes cherries are great for a little tartness.  You can be like Lailah and eat it as is, or have it over your favorite yogurt or milk with some berries.  I have been obsessed with the Trader Joe’s brand soy yogurt, but they have been out of stock for months!  Such a bummer.  Since then I’ve opted for the so-delicious coconut milk based yogurt.  Its not bad, but nothing compared to Trader Joe’s.  Once the weather cools, I will pull out the dehydrator and start making my own again.  Oh fall, how I am ready for you!

photo (21)

Are you ready?!

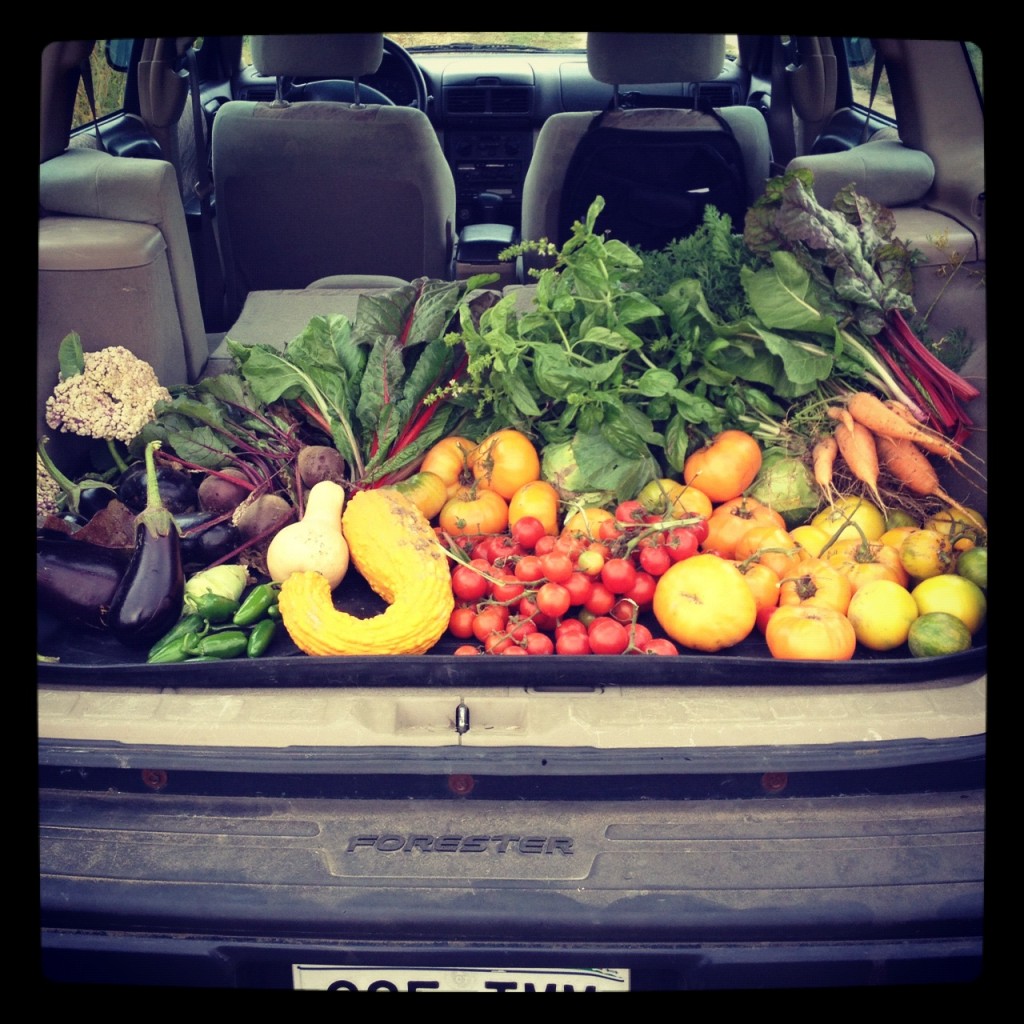
photo (8)No I didn’t harvest all these vegetables today…  Its been so cold and rainy here, one would never know its June.  But this is a picture from one of our harvests last summer to remind you, excite you, and get you stoked for the Sheboygan summer farmers market!!

Vegpod will be in full effect this summer, starting tomorrow (Saturday June 8th) at Fountain Park, from 8-1pm.  Though we have been known to sell out early, so don’t sleep in too late!  If you haven’t seen us, or stopped by to taste any of our goodies, we will be offering our normal shebangs of Muffins, granolas, assorted hummus’, wraps, and At least one entree and side, soup, as well as one salad.  Vegpod will also be testing out the raw food market in Sheboygan this year.  Raw crackers, pizzas, burgers, cakes, and other tids and bits.

So whats on the menu for tomorrow? Rhubarb muffins, Lentil loaf with mashers and gravy, Raw Italian herb crackers, Eggless egg salad wraps, Fruit & Nut Granola, Chocolate Cherry Hemp Granola, Three Sisters Stew, and 5 varieties of Hummus.  We are having a hard time getting local produce this early in the season, but we did manage some rhubarb, and lettuce!  Most everything else is Gluten Free, organic, and of course vegan.  I did hear the weather should be sunny and beautiful, so come have lunch, and soak up some vitamin D.

Vegpod goes food booth

hcmp25731_22850_s3

This lovely lady rolled over 200 tamales!

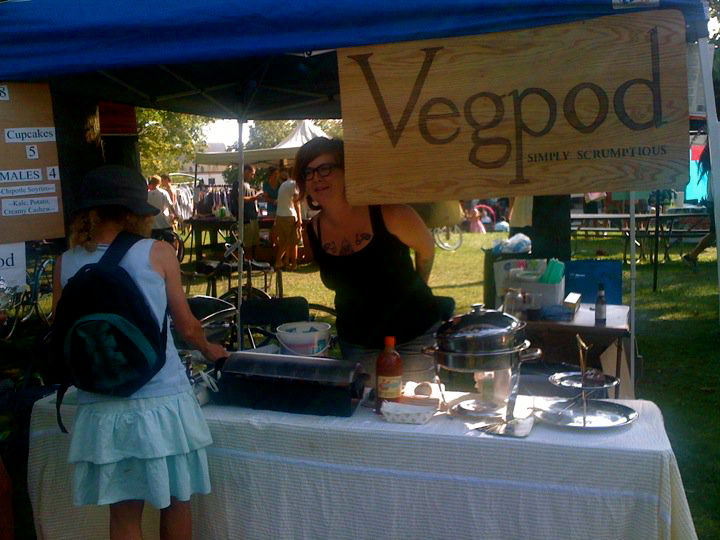
Greetings from the western side of the vast Lake Michigan. Vegpod has been on hiatus to seek out and thus enjoy some soul searching. Through travels afar, hindered language(s), bewildered metric conversions, and a much needed cold and dreary winter, I can proudly say I have grown within myself, and re-inspired my idled culinary skills. Deciding to leave the vegan fast food industry was long overdue, and I am pleased to say my ‘studies’ abroad have brought me back to the gleeful fine dining chef I had once been. I miss San Diego almost everyday, but am pleased to find myself with more of an ambitious objective. And where better to find it then in the dairy state.
Wisconsin is mainly known for dairy & wheat production. So who could I possibly tempt with my vegans treats in a town of 50,000 cheese curd connoisseurs?
In the past, the thought of running my own food booth at the local markets in southern California had passed through my mind quite frequently. Since the restaurant had kept me busy, day and night, the idea had passed quickly, never thinking to return until the right time. Here in Sheboygan, Wi. there appeared to be no better occasion then Earth Fests’ 20th Anniversary.
Earth Fest is an annual festival showcasing an eventful two day weekend to help promote the environment through music, art, education, and food. And every Earth Fest needs a little vegan love.
Upon my arrival here, I had been approached by a women putting together this festival. I figured why not, and called in some worker bee troops for help. Luckily I didn’t have to look to far. We decided to stick to something simple, as well as something the locals could relate too. We went with three varieties of cold wraps, vegan ho ho cupcakes, and the winner of the weekend, a trio of Americana style tamales, complete with an array of homemade salsas. Sticking with the concept of choosing locally, we were able to arrange most of our veggie purchases from local farmers. And thanks to my new found favorite place, Paradigm, I had a certified kitchen, and a wonderful convection oven to work with

hcmp25731_22851_s3
Bicycle powered smoothies, I heart Paradigm

The tamales proved to be the most popular by far, and with the hours upon hours worth of wo-man/man power that went into each hand rolled, and tied off cornhusk, it’s no wonder. They were by far the most labor intensive project I’ve ever seen attempted.

Before this weekend I had definitely been under the impression that Sheboygan had no desire in attempting to try any vegan eats. And though many of the Earth Festers traveled from other cities, I was definitely inspired to do more, feed more, and hence, start a vegpod food booth. There will be more to come possibly starting in spring 2011, and until then I will be trying to cater and shine my best through the wonderful Paradigm Coffee & music.

A big thanks to Kate and all of the Paradigm crew for being so darn cool, and making me feel like there is a warm place to just be myself. And a super, I mean super, duper, duper, big thanks to Melanie, Jared and Erik. For without them, I would’ve lost a piece of my sanity. You guys ruled it!

39964_427449584370_649694370_4633074_2246610_n
Love you Mel!